Fixing VS Code File Association for Houdini’s .h Scripts
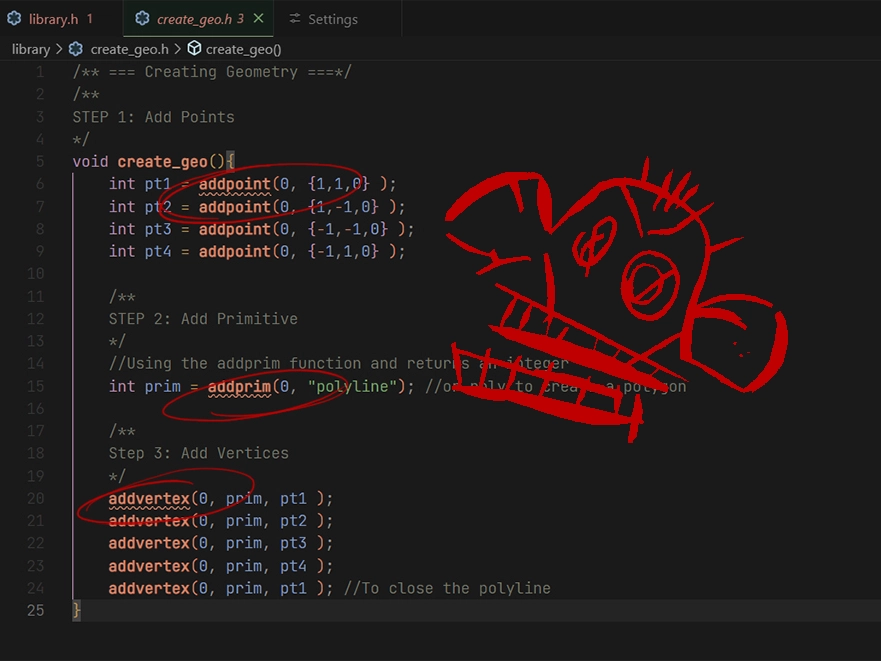
If you’ve ever tried importing your own functions into Houdini using .h files and ran into VS Code throwing a fit, welcome to the club. Here’s what happened, how I fixed it, and how you can avoid wasting as much time as I did.
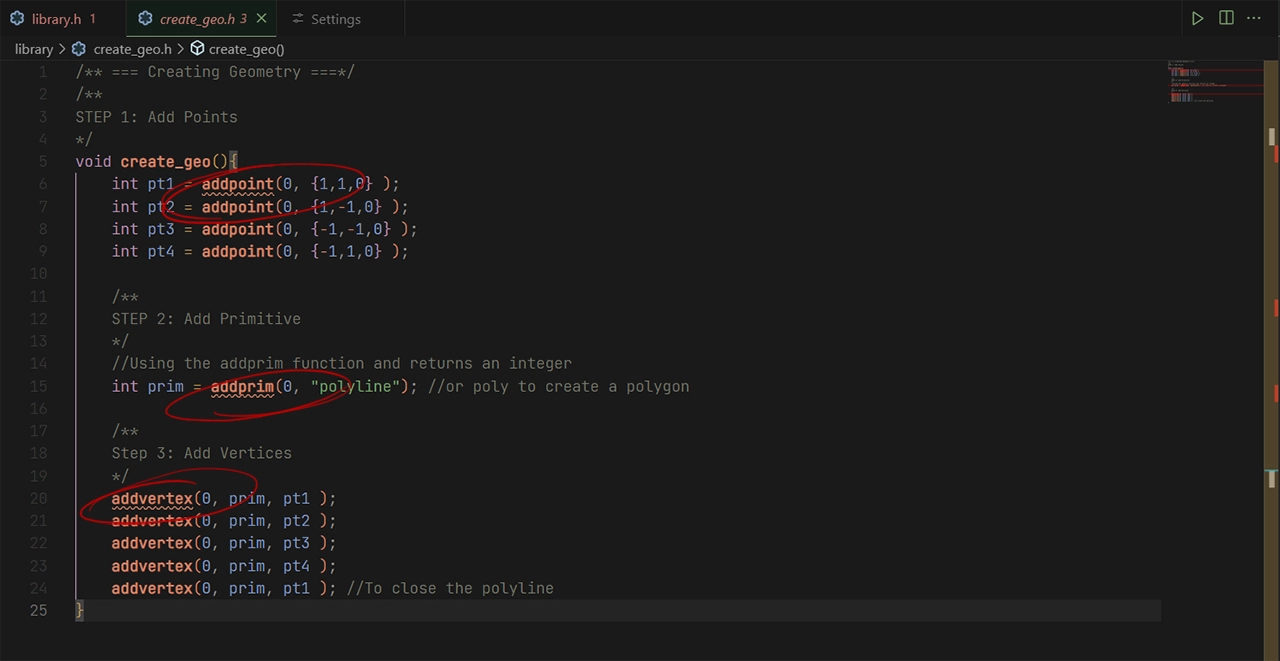
The Problem: VS Code vs. Houdini’s .h Files
To import your custom functions into Houdini’s attribute wrangles, you need to save your script files as .h. Pretty straightforward.
Next, you need to tell Houdini where to find these files by adding a search path to your houdini.env file. For instance, if your code lives in a folder called library, you’d add this:
Simple enough, right? But here’s where things went hinky.
By default, VS Code associates .h files with C/C++. So, while Houdini was perfectly fine with the .h scripts, VS Code kept screaming about errors that weren’t actually there.
The Solution: Update VS Code File Associations
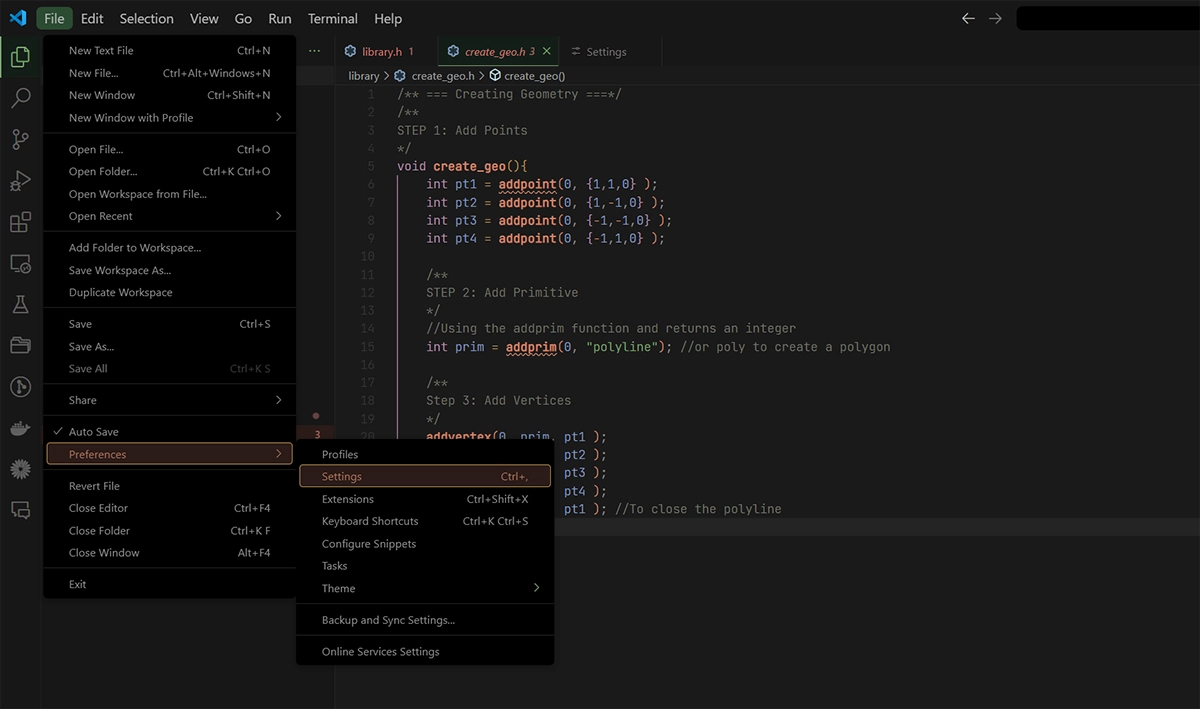
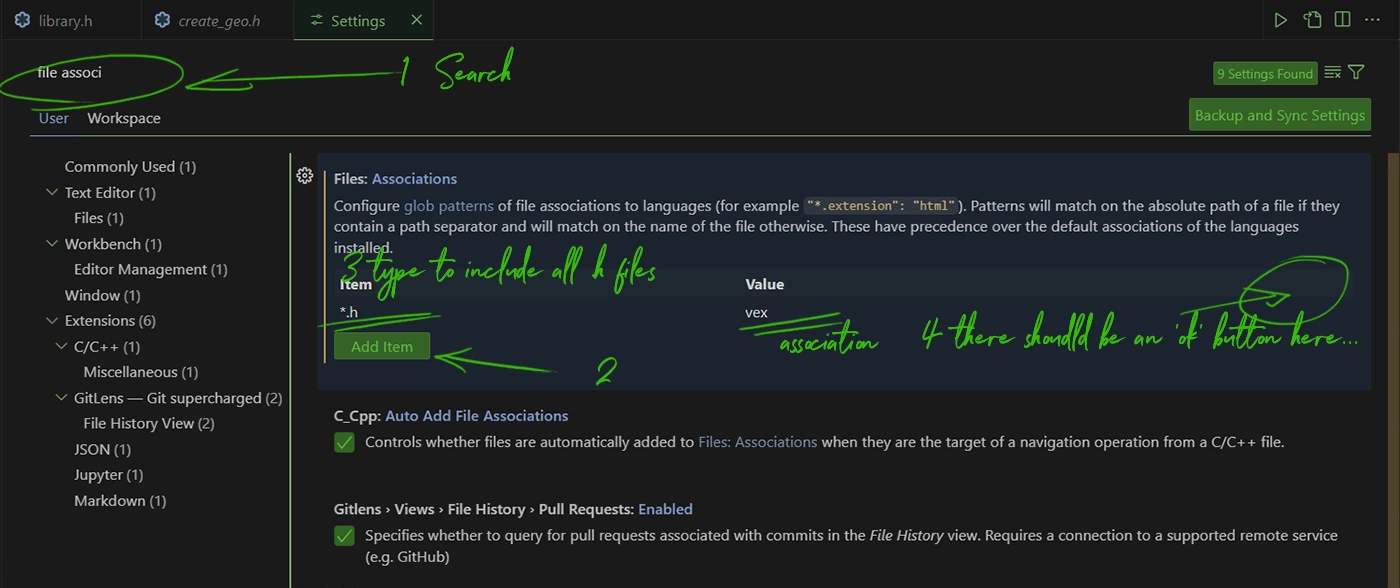
Fixing this is straightforward. All you need to do is tell VS Code to stop thinking your Houdini .h files are C/C++ and instead treat them as VEX. Here’s how:
- Go to File > Preferences > Settings.
- In the search bar, type File Associations.
- Add a new item:
- For the file type, enter
*.h. - For the language, enter
vex.
- For the file type, enter
- Save your settings.
That’s it. VS Code should now associate .h files with VEX, and the unnecessary error messages will vanish. Nice pretty looking code.
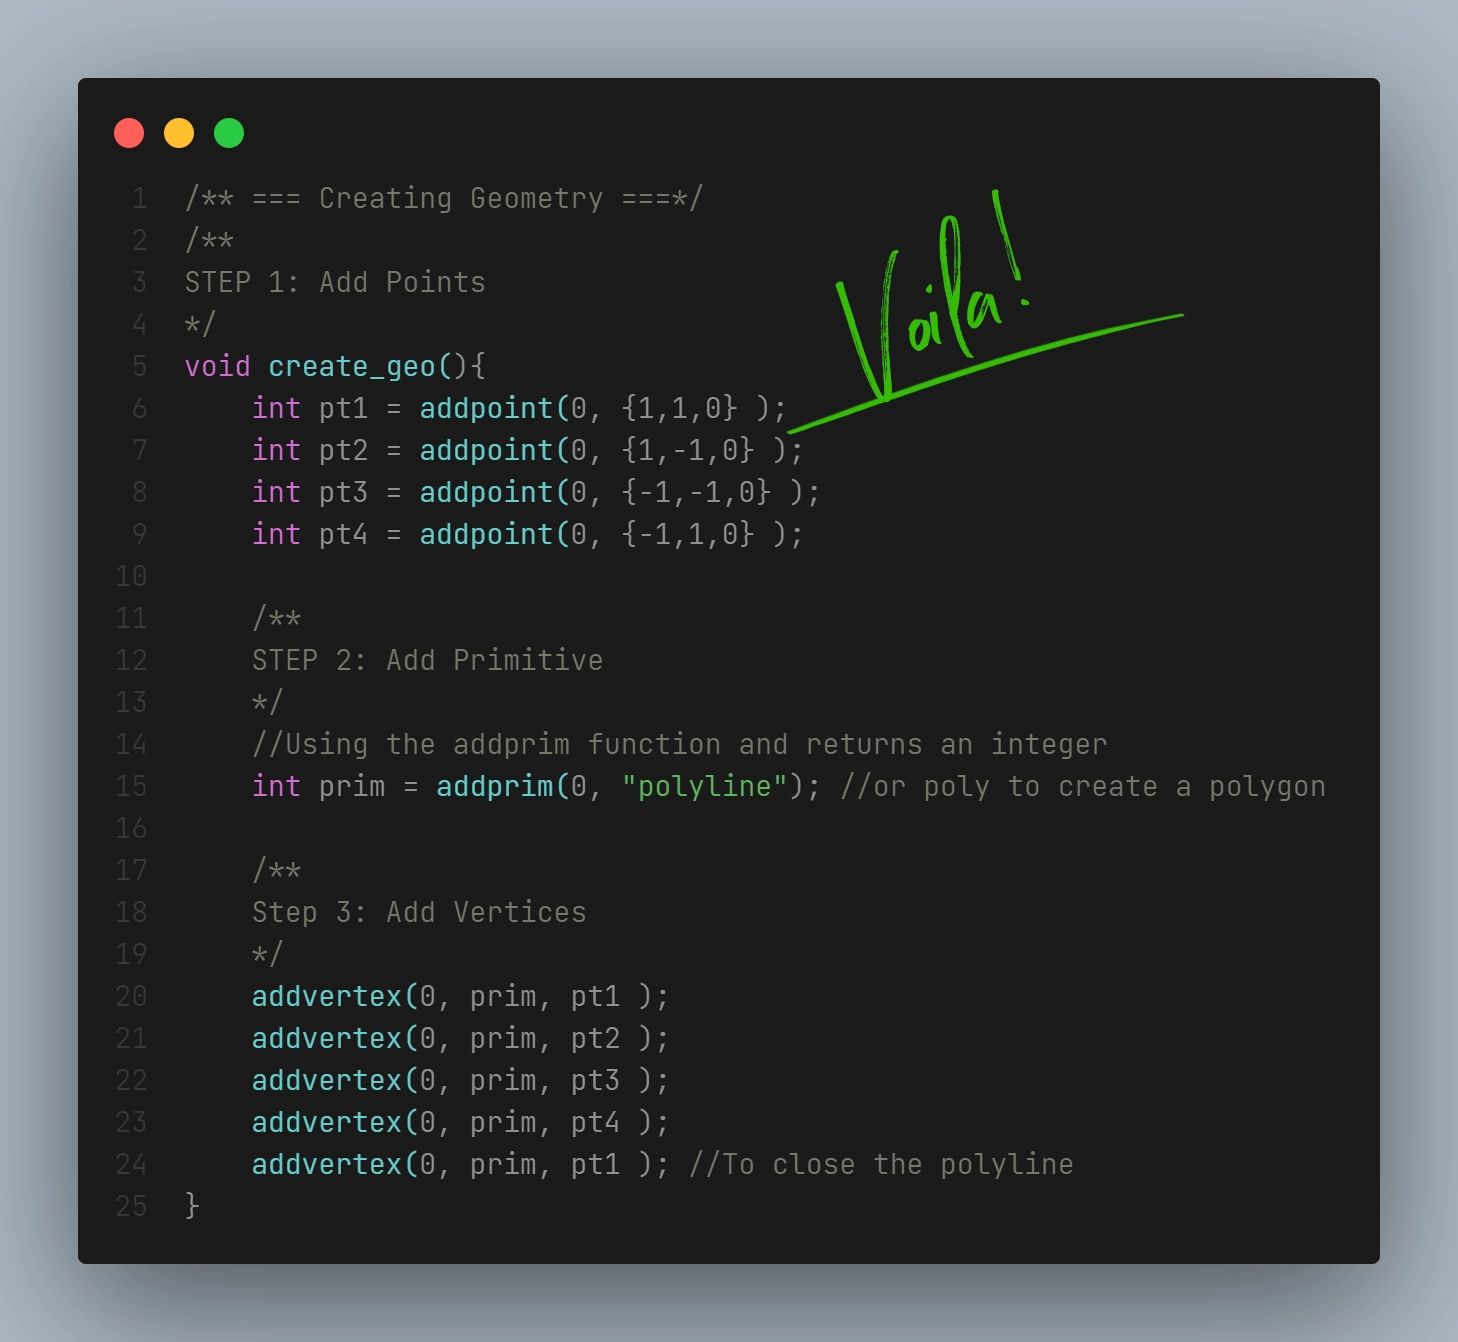
Bonus Tip: Add Extensions for VEX Code Linting
While you’re tweaking VS Code, make your life easier by installing extensions for VEX syntax highlighting and linting.
- Click the Extensions button (the square icon on the sidebar).
- Search the marketplace for VEX.
- I recommend installing:
- VEX
- Houdini VEX
These extensions will help with formatting and catching actual errors, not phantom ones conjured by a confused IDE.
[addtoany]
Recent
-
1
-
2
-
3
-
4
-
5
-
6
-
7
-
8
-
9
-
10

